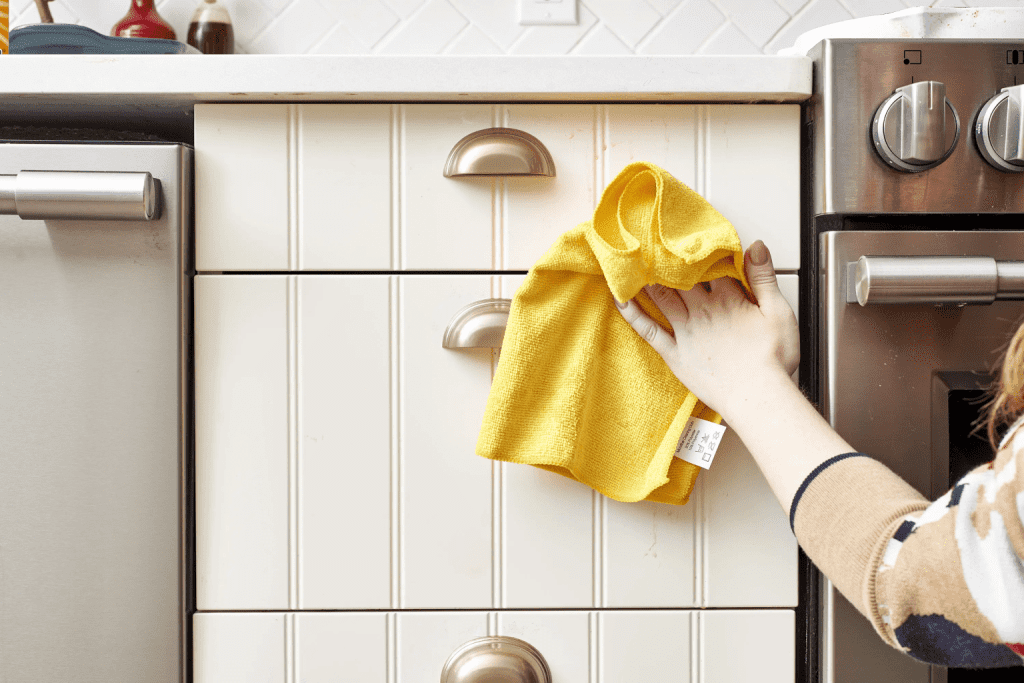
Kitchen cabinets, after years of culinary use, can become magnets for grease, grime, and sticky residue. If your cabinets haven’t been cleaned for over three years, it’s time to roll up your sleeves and tackle that stubborn layer of grease! This guide will walk you through the steps to restore your kitchen cabinets to their former glory, ensuring a sparkling clean kitchen and a healthier cooking environment.
Understanding the Problem: Why Kitchen Cabinets Get Sticky and Greasy
Over time, kitchen cabinets accumulate a layer of sticky residue due to cooking oils, food particles, and dust mixing in the air. This grime gradually builds up, dulling the cabinets’ appearance and making them difficult to clean. Neglect or inadequate cleaning methods can worsen this sticky mess, leaving cabinets looking dingy and unattractive.
Essential Supplies You’ll Need to Clean Sticky Cabinets
To remove years of grease buildup, gather the following cleaning essentials:
- Mild dish soap or detergent
- White vinegar
- Baking soda
- Warm water
- Microfiber cloths
- Sponges
- Soft-bristle brush
- Cleaning gloves (optional)
- Natural or commercial degreasing product (for tough grease)
With these supplies, you’ll be prepared to take on even the most stubborn grease spots!
Preparing the Kitchen for a Deep Cabinet Clean
Before diving into the cleaning process, make sure your kitchen is set up for success:
- Empty the Cabinets: Remove all items to access every surface that needs cleaning.
- Remove Hardware: If possible, take off handles and knobs, as these often collect grime.
- Protect Surfaces: Cover countertops and floors with an old towel or drop cloth to protect them from cleaning splashes.
- Ensure Ventilation: Open windows if you’re using strong cleaning agents to ensure proper ventilation.
Creating a clean, organized space will make the cleaning process smoother and more efficient.
Step-By-Step Guide to Cleaning Sticky and Greasy Kitchen Cabinets
Here’s a step-by-step breakdown to remove years of grease from your cabinets effectively:
- Create a Cleaning Solution: Mix equal parts of warm water and white vinegar in a bucket or spray bottle. Vinegar acts as a natural degreaser, cutting through sticky grime.
- Wipe with a Damp Cloth: Dip a microfiber cloth in the solution, wring it out, and start wiping down the cabinets. Avoid soaking the cloth, as too much water can damage wooden cabinets.
- Tackle Stubborn Spots with Baking Soda Paste: For tougher spots, mix baking soda with a bit of water to form a paste. Apply this to greasy areas, scrub gently with a soft-bristle brush, and watch the grime dissolve.
- Rinse and Wipe: Once the cabinets are clean, rinse the cloth in fresh water, wipe down the surfaces again, and remove any lingering residue.
- Dry Thoroughly: Finally, use a dry cloth to ensure the cabinets are completely dry, preventing moisture damage.
This approach should leave your cabinets clean and refreshed, ready to shine again.
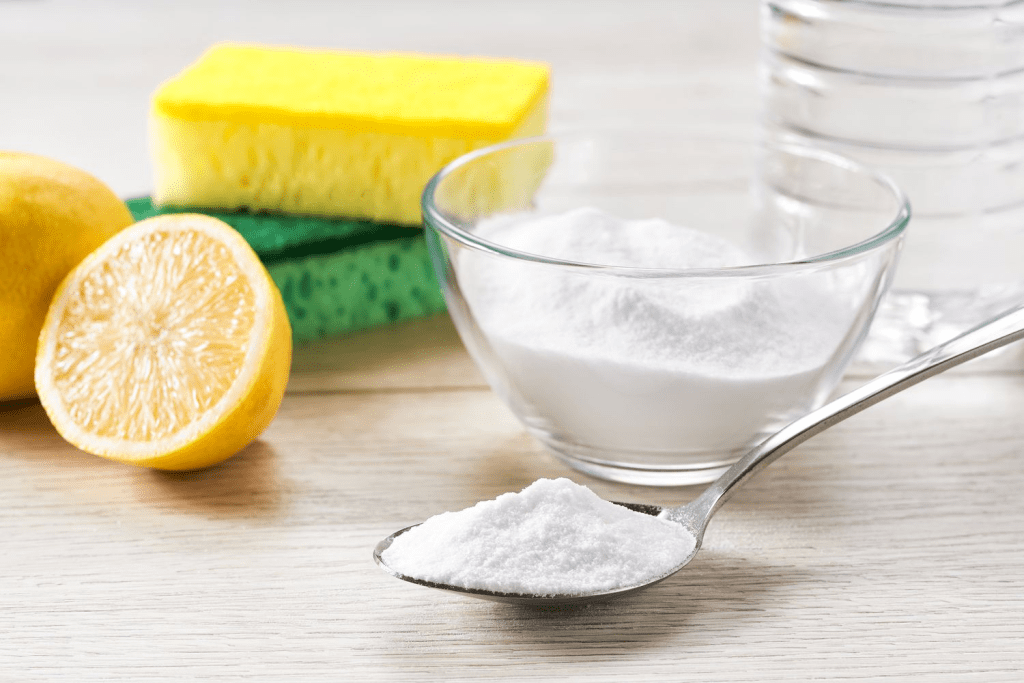
Using Natural Cleaning Solutions for Stubborn Grease
If you prefer natural solutions, there are simple yet effective options for tackling tough grease without harsh chemicals:
- Baking Soda and Vegetable Oil Paste: Mix a bit of baking soda with a few drops of vegetable oil to create a paste. Apply this mixture to the greasy areas, let it sit for a few minutes, and then scrub gently. This paste can work wonders on old, caked-on grease.
- White Vinegar Spray: White vinegar alone can be a powerful grease-fighting agent. Spray undiluted vinegar directly on the greasy areas, let it sit for a few minutes, and wipe clean with a cloth.
These natural cleaning methods are effective, environmentally friendly, and safe for use around food prep areas.
When to Use Commercial Degreasers for Maximum Effectiveness
In cases of extreme buildup, natural solutions might not fully cut through the grease. For these instances, commercial degreasers are highly effective:
- Choose the Right Product: Select a degreaser that’s suitable for your cabinet finish, whether they are wood, laminate, or painted.
- Follow Instructions Carefully: Apply the degreaser as per the manufacturer’s instructions, allowing it to sit on the surface briefly before wiping it away.
- Rinse Thoroughly: Wipe down the surface with a damp cloth afterward to remove any chemical residues.
Commercial degreasers are powerful but should be used sparingly and with care to avoid damaging your cabinets.

Preventing Future Grease Buildup on Kitchen Cabinets
Once your cabinets are clean, you’ll want to keep them that way! Here are some tips to prevent grease and grime from building up again:
- Establish a Regular Cleaning Routine: Wipe down your cabinets every week using a mild detergent or vinegar solution to remove light grease and dust before it accumulates.
- Ventilation Matters: Proper kitchen ventilation, such as using a range hood or fan, helps reduce grease particles in the air, preventing them from settling on surfaces.
- Splatter Guards: Use splatter guards when frying or cooking with oils to contain grease, minimizing the chances of it reaching your cabinets.
- Quick Cleanup: Clean up any spills immediately rather than letting them sit, which makes cleanup easier and faster in the long run.
A little preventive care can go a long way in maintaining your clean kitchen cabinets, keeping them shiny and looking like new.
Conclusion: Restore and Maintain Your Kitchen Cabinets with Ease
Cleaning kitchen cabinets after years of buildup might feel like a daunting task, but with the right approach, it’s entirely manageable. By following this guide and using a combination of natural solutions, essential supplies, and an organized approach, you’ll restore the sparkle to your cabinets and create a more pleasant, hygienic cooking environment.
Regular maintenance and a few preventative measures will help keep your cabinets in top condition, enhancing both the aesthetics and functionality of your kitchen. So, take a few hours to give your cabinets the care they deserve, and you’ll enjoy a fresher, brighter kitchen that feels like new.